(I) File Management
1. Accessing the File Library
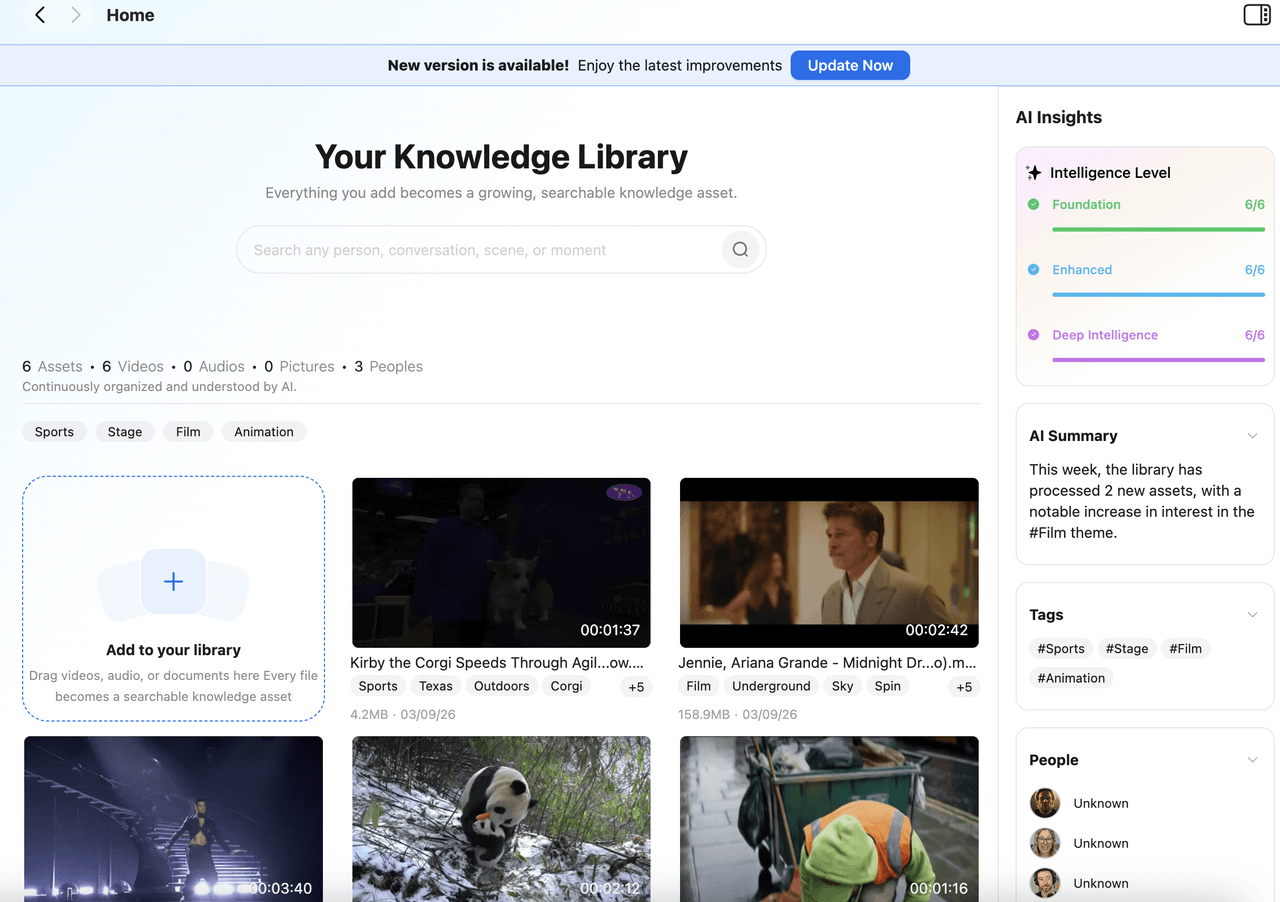
- Click Library in the left sidebar.
- The All files view is displayed by default.
- All uploaded video, audio, and other media files are managed centrally here.
2. Uploading Files
- Click the "Add to your library" space
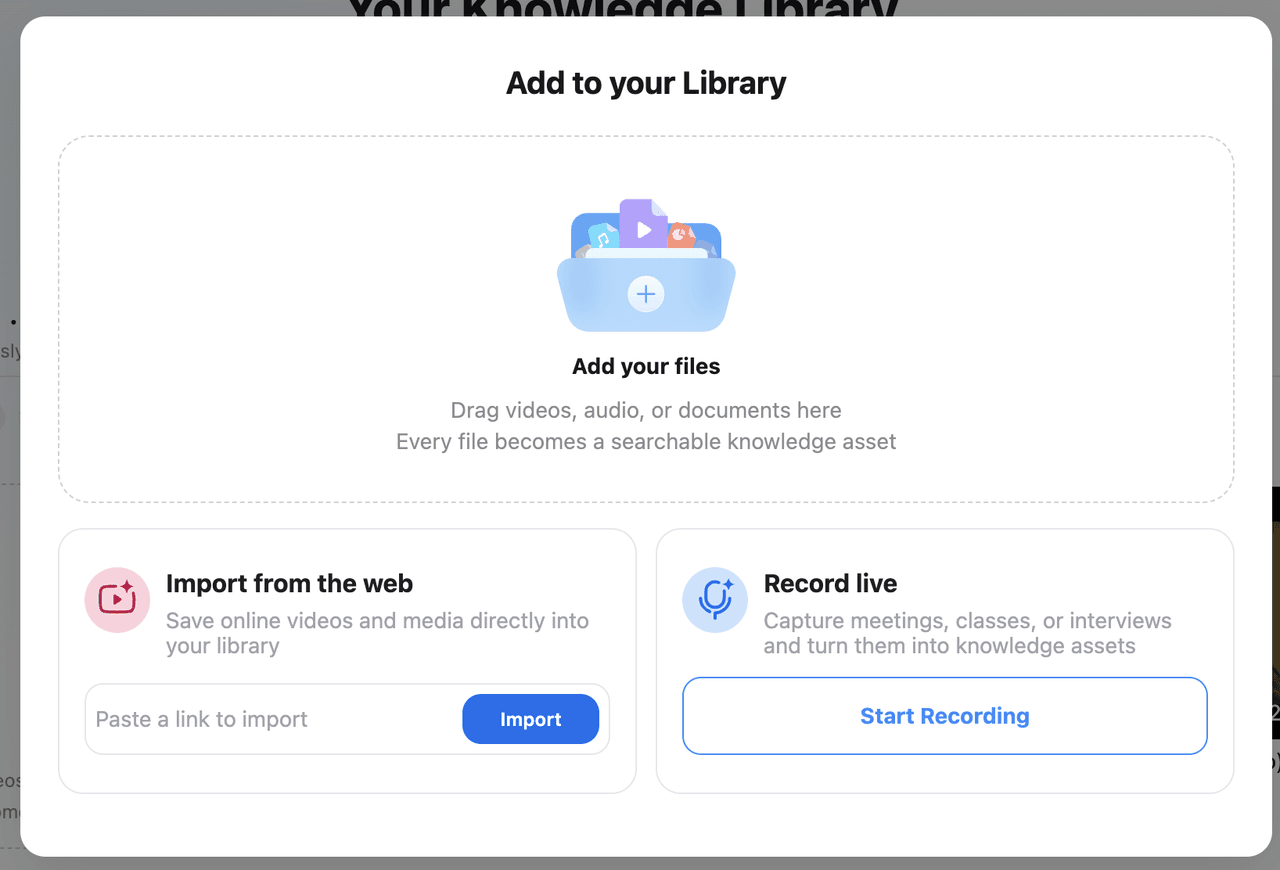
- You can either import from the web or record to upload the audio files.
 Upload Status Tips:
- During upload, the file name will display its progress.
- Once complete, the file will automatically appear in your main file list.
- Uploading large files may take some time; please ensure you have a stable internet connection.
3. Viewing File Information
Click on any file to view detailed information:
- File Name
- File Type
- File Size
- Creation Date
- Duration (for video/audio files)
- Auto-tagging

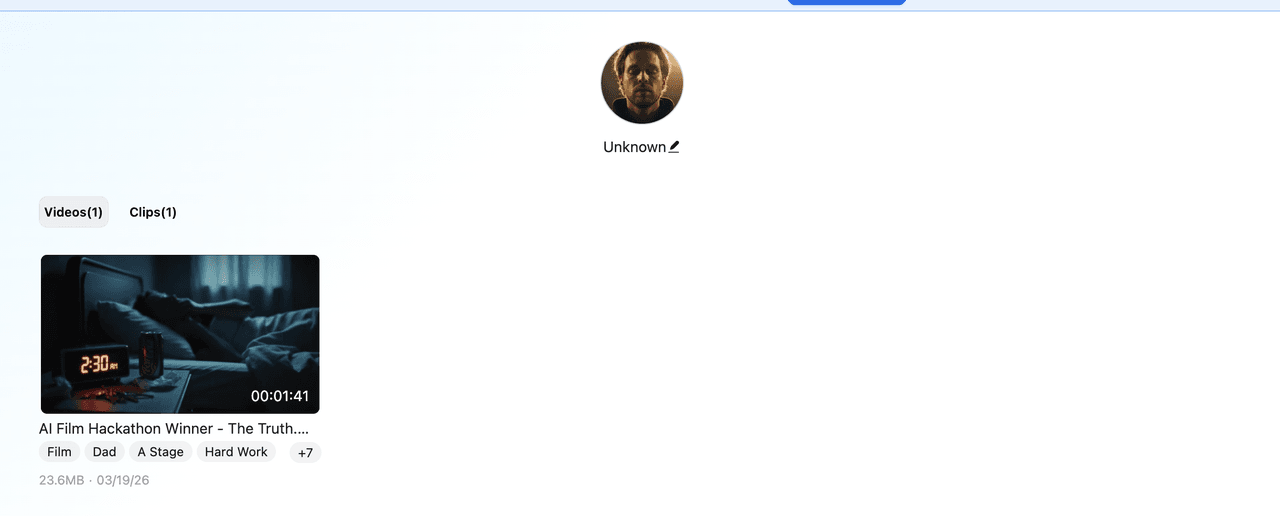
(II) Customize the people setting.
Once your videos are uploaded, Clipto’s AI automatically identifies every person in the footage.
- View: Find the full list of detected faces in the Right Sidebar.
- Rename: To customize names, navigate to People Settings in the Left Sidebar. Simply select a profile and edit the name to keep your library organized.